Which microphone for podcasting? The complete guide
Launching a podcast is easy. Making it sound professional is another story. The microphone is the first link in the chain — a bad mic gives a podcast that tires the ear, a good mic gives a podcast people listen to all the way through. But between USB and XLR, dynamic and condenser, €50 and €500, the choice can feel overwhelming. This guide gives you the keys to choosing the right microphone based on your format, your room, and your budget.
Quick summary
- USB to get started: plug-and-play, no audio interface needed. E.g.: Tecurs USB or Thronmax Space USB.
- XLR dynamic for quality: rugged, rejects ambient noise, ideal for untreated rooms. E.g.: Sennheiser E 835-S.
- XLR condenser for detail: maximum clarity, requires a treated room. E.g.: Rode NT1 Gen5.
- Ultra-compact budget: Stagg SCM300 — an affordable condenser to get started.
- Golden rule: a dynamic in an untreated room always beats a condenser in the same room. To learn more, check out our guide How to choose a studio microphone?.
USB or XLR: the first decision
Before even choosing the type of microphone, you need to decide on the connection. This is the question that determines everything else about your setup.
The USB microphone plugs directly into the computer. No need for an audio interface, XLR cable, or preamp. It's the simplest and most affordable choice to start a podcast. Drawback: the built-in converter quality is generally inferior to that of a good audio interface, and you can't swap microphones without replugging everything. If you podcast solo, in a quiet room, a good USB mic is more than enough.
The XLR microphone requires an audio interface (or mixer) to convert the analog signal to digital. It's more expensive, more cumbersome, but it's the professional format. Advantages: superior audio quality, the ability to swap microphones, preamps, add hardware effects, and connect multiple microphones for a multi-voice podcast. If you're taking podcasting seriously and for the long term, the XLR investment pays off from the start. Check out our guide How to choose an audio interface? to pick the right interface.
Comparison table: USB vs XLR for podcasting
| Criterion | USB | XLR |
|---|
| Simplicity | Maximum (plug-and-play) | Requires audio interface |
| Initial budget | €50-150 | €200-600 (mic + interface) |
| Audio quality | Good to very good | Excellent to professional |
| Multi-microphone | Difficult (one per USB port) | Yes (multi-input interface) |
| Scalability | Limited | Unlimited |
The best USB microphones for podcasting
If you're just starting out, the USB microphone is the most pragmatic choice. No complicated settings, no cables everywhere — plug in and record.
The Tecurs USB Condenser Microphone is perfect for a first podcast. A cardioid condenser capsule, it clearly captures the voice in front of it while rejecting some ambient noise. Its USB connection makes it compatible with any podcasting software (Audacity, GarageBand, OBS). For under €80, it's the ideal entry ticket.
The Thronmax Space USB steps up a notch in quality. Its capsule offers better definition in the midrange — the frequency range where the human voice lives. The Space USB also includes an adjustable polar pattern, allowing you to adapt it to different configurations: solo in cardioid, duo in bidirectional, round table in omnidirectional.
The best XLR microphones for podcasting
For those who want pro quality and room to grow, XLR is the royal road.
The Sennheiser E 835-S is a dynamic mic designed for vocals, but it excels at podcasting. Why? Because its moderate sensitivity naturally rejects room noise — the computer, the AC, the neighbors. In an untreated room (so 95% of cases), it will deliver cleaner sound than a €500 condenser. The cutoff switch (the "S") lets you mute the mic between takes without touching the software.
The Rode NT1 Gen5 is the ideal condenser for podcasting in a treated studio. Its extremely low self-noise (4 dB-A) means no hiss in the silences — crucial for podcasting where pauses are frequent. Its clarity in the upper midrange gives the voice a natural presence. But beware: it picks up everything. If your room isn't treated, go with the Sennheiser instead.
For a very tight budget, the Stagg SCM300 is an entry-level XLR condenser that will get the job done for an amateur podcast. It requires an audio interface, but for someone who already owns a Scarlett or a MiniFuse, it's an economical option.
Dynamic or condenser for podcasting?
For podcasting, the dynamic mic has a major advantage: it doesn't pick up ambient noise. In an apartment, an unisolated office, or any space that isn't a professional studio, the dynamic almost always wins.
The condenser has its place if:
- Your room is acoustically treated (absorbing panels, bass traps)
- You want a detailed, airy sound (ASMR podcast, pro voiceover)
- You record music in addition to the podcast
In all other cases, go with a dynamic. Your podcast will sound cleaner with less post-processing effort.
Tips for a podcast that sounds pro
- Get the mic close: 5-10 cm for a dynamic, 15-20 cm for a condenser. The closer the mic, the less room it picks up.
- Use a stand: a handheld mic moves, creating level variations and handling noise. An articulated arm stand (desk boom arm) is a €30 investment that changes everything.
- Pop filter: essential, even for a dynamic. Plosives ("P", "B") are the #1 flaw of amateur podcasts.
- Closed-back headphones: to monitor your voice during recording without the sound leaking back into the mic. Open-back headphones let the headphone sound bleed into the mic.
- Record at 48 kHz / 24-bit: this is the broadcast standard. Never use 44.1 kHz for a podcast.
FAQ: your podcast microphone questions
Can you podcast with a gaming microphone?
Technically yes, but gaming microphones are often optimized for communication, not for audio quality. A dedicated podcast microphone will always sound better.
Do you need a pop filter with a USB microphone?
Yes, if the mic is a condenser. USB condenser microphones are just as sensitive to plosives as their XLR counterparts.
How many microphones for a multi-person podcast?
One microphone per person. If you're on USB, use a powered hub and software like Riverside or Zencastr that handles multiple inputs. On XLR, get an interface with enough inputs (Focusrite Scarlett 4i4 for 2 people, 18i20 for 4+).
One microphone for podcasting and singing, is it possible?
Yes, a condenser like the Rode NT1 Gen5 does both very well. But it requires a treated room. To learn more, read our guide Which microphone for recording vocals?.
Summary of key points
- USB to start simply and affordably
- XLR for pro quality and scalability
- Dynamic for untreated rooms (90% of cases)
- Condenser for treated rooms and maximum detail
- Minimum USB budget: Tecurs or Thronmax (~€80-120)
- Minimum XLR budget: Sennheiser E 835-S + interface (~€250)
- Boom arm + pop filter = essential investments
Conclusion
The best microphone for your podcast is the one that matches your room and your level of commitment. If you're testing the format, a USB microphone like the Tecurs or Thronmax under €120 will give you decent sound without a heavy investment. If you're committed to podcasting long-term, move to XLR with a Sennheiser E 835-S dynamic — you'll save hours of post-processing thanks to its natural ambient noise rejection. And if you have a treated studio, a Rode NT1 Gen5 will give you sound worthy of the best professional podcasts. Audio quality is what separates an amateur podcast from one people listen to all the way through.
Ready to launch your podcast?
Discover our selection of microphones — new, refurbished and used
View all microphones

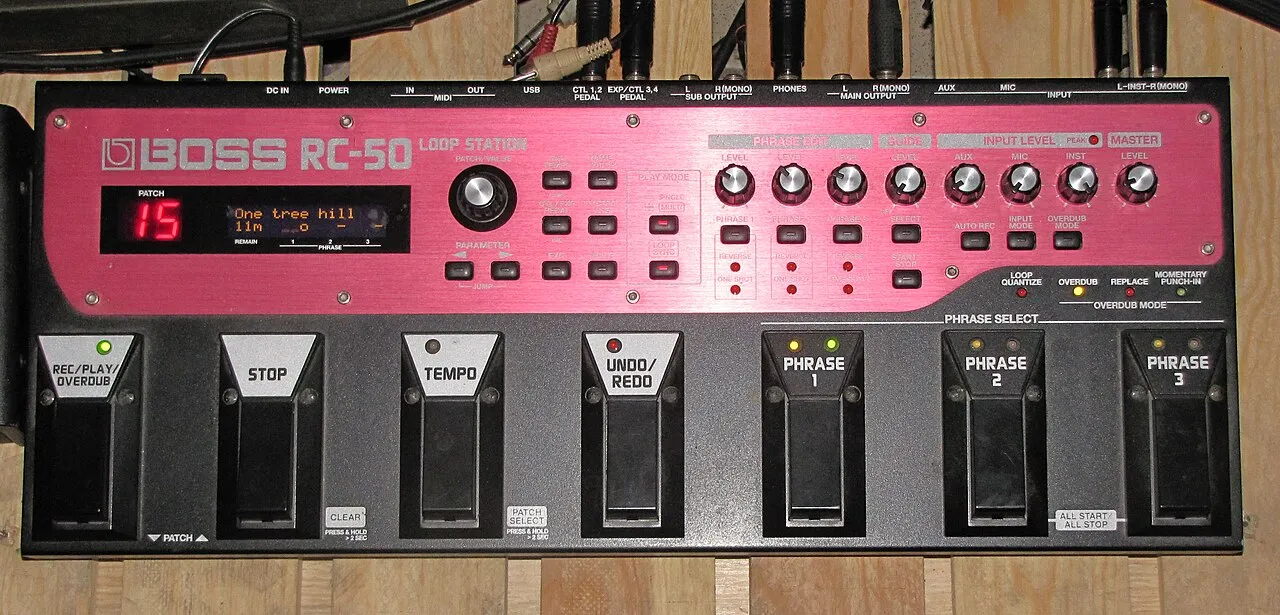 What is a looper and how to use it?What is a looper and how to use it? The loop principle, choosing a model, practicing, composing and playing live: the complete beginner's guide.Read more
 How long does it take to learn the drums?How long does it take to learn the drums: first grooves, first songs and independence. The realistic benchmarks and the right practice rhythm.Read more
 Vestax: Japanese legend of DJ equipment and vinyl turntablesVestax, founded in Tokyo in 1977, made DJing history with its revolutionary vinyl turntables and legendary mixers. A look back at the legacy of a cult brand that continues to inspire DJs around the world.Read more
 Hagstrom: Swedish guitars and basses since 1958Hagstrom, Swedish guitar excellence since 1958.Read more
 Altamira: classical and flamenco guitars inspired by Spanish traditionAltamira offers classical, flamenco, gypsy jazz guitars and historical replicas inspired by Spanish tradition. From beginner to concertist, discover authentic lutherie at the right price.Read more
 NoiseWorks VoiceAssist: cleaner vocals in less timeWhat if the next real upgrade to your studio were not a new microphone or a preamp, but time? That is the question NoiseWorks raises with VoiceAssist, a plugin that tackles the least creative part of vocal work: cleanup. Background noise, room reverb,Read more
 How to sound a band rehearsal?How to sound a band rehearsal: gear, speaker placement, volume balance and voice amplification for effective rehearsals that protect your hearing.Read more
 How to get a good stage monitor mix?How to get a good stage monitor mix: gear, console connections, volume settings without feedback and placement tips for musicians.Read more
 Which PA amplifier for a room of 100 people?Which PA amplifier for a room of 100 people: power, speaker types, placement and budget advice to sound your venue properly.Read more
 How to connect your computer to a PA system?How to connect your computer to a PA system: audio interface, cables and console settings, with the fallback solutions and the mistakes to avoid.Read more
Leave a comment